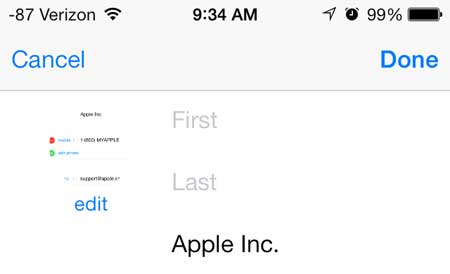
But you can do some additional customization with the contacts that you create, such as including a picture for that contact. Our tutorial below will show you how to select an existing iPhone contact and assign a picture ot that contact so that you see it in several of the apps where you can contact that person.
How to Set a Contact Picture on an iPhone
Our guide continues below with additional information about how to add a picture to a contact on an iPhone, including pictures of these steps. There can be a lot of icons at the top of your iPhone. Find out more about the phone icon on top left of iPhone if you’ve been seeing that one and weren’t sure what it meant. The contact system on the iPhone 5 is very good, and it has had a lot of fun and useful features for a while. One of these features is the ability to assign pictures to your contacts, which makes it much easier to tell who is calling you if you are standing away from your phone. Plus, it’s just fun to see a picture when a friend or family member calls, instead of just their name. But if you are having trouble figuring out how to assign a picture to a contact in iOS 7, then you can follow the steps outlined below.
Assigning Pictures to Contacts in iOS 7 (Guide with Pictures)
The process for doing this is somewhat similar to how it was in earlier versions of iOS, but there are some minor changes that could be confusing if you previously knew how to add pictures to your iPhone contacts. We are going to perform the tutorial below under the assumption that you already have the picture that you want to use for your contact, but you will also have the option of taking a picture of a contact and adding it during the process.
Step 1: Touch the Phone icon.
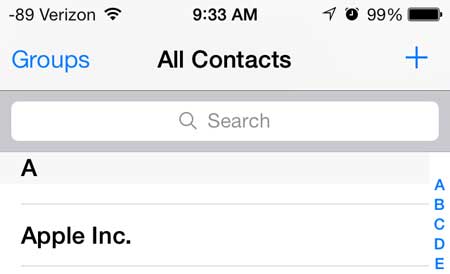
Step 2: Select the Contacts option at the bottom of the screen.
Step 3: Touch the name of the contact to which you want to add a picture.
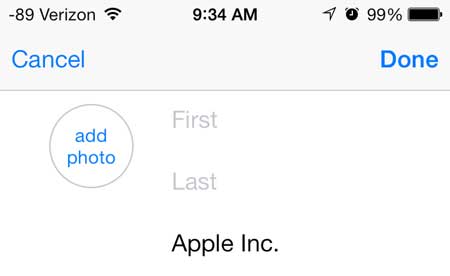
Step 4: Step 4: Touch the blue Edit link at the top-right corner of the screen.
Step 5: Touch the Add photo circle at the top-left corner of the screen.
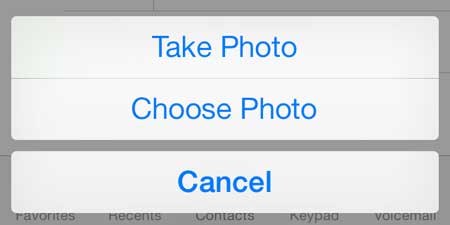
Step 6: Touch the Choose Photo option.
Note that this is the point where you could alternatively elect to take a picture of a contact instead by selecting the Take Photo option.
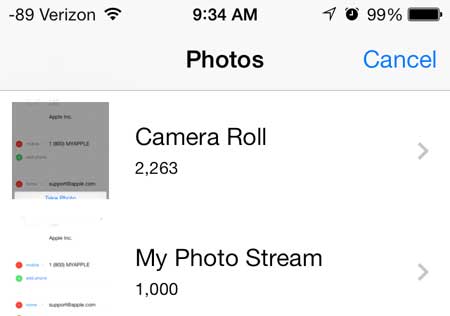
Step 7: Touch the name of the album containing the picture that you want to use.
Step 8: Touch the thumbnail image of the picture that you want to use as the contact photo.
Step 9: Move the circle on the screen around until it is correctly positioned on the portion of the image that you want to use as the contact image, then touch the Choose button.
Step 10: Touch the Done button at the top-right corner of the screen.
Note that you can use the pinch feature to zoom in and out on the image while you are positioning the circle. For more help on zooming with the iPhone camera, you can read this article. Now that you know how ot assign a picture to a contact on your iPhone you will be able to start customizing this aspect of your device so that you see pictures of your friends and family when they call you, or when you text them.
You can now finally block callers in iOS 7 on your iPhone 5. Click here to learn how.
After receiving his Bachelor’s and Master’s degrees in Computer Science he spent several years working in IT management for small businesses. However, he now works full time writing content online and creating websites. His main writing topics include iPhones, Microsoft Office, Google Apps, Android, and Photoshop, but he has also written about many other tech topics as well. Read his full bio here.
You may opt out at any time. Read our Privacy Policy
