If it seems like the quality of video that you stream through the app is too low, then you may be interested in increasing that quality. Our tutorial below will show you where to find the setting that controls the quality of your streaming video in the Prime Video app so that you can raise or lower that setting as desired.
How to Adjust Streaming Quality in the Prime Video iPhone App
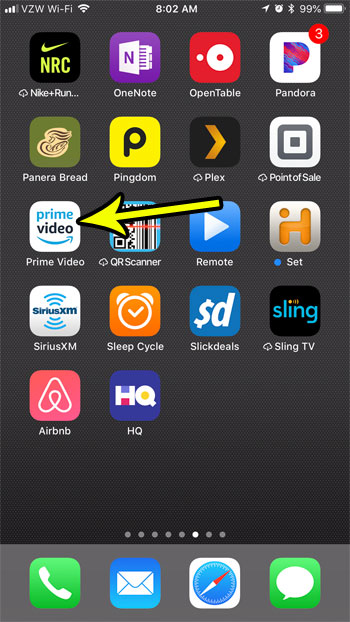
The steps in this article were performed on an iPhone 7 Plus in iOS 11.4.1. By completing the steps in this article you will be changing the quality of video that you stream through the Prime Video app on your iPhone. Note that increasing the streaming quality can result in a much higher rate of data usage if you are streaming on a cellular connection. Additionally, if you have a data cap on your Wi-Fi network, then an increase in streaming quality can cause you to reach that cap more quickly as well. Step 1: Open the Prime Video app.
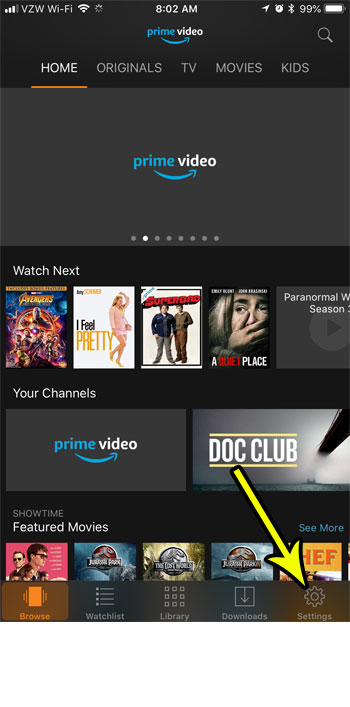
Step 2: Choose the Settings tab at the bottom-right corner of the screen.
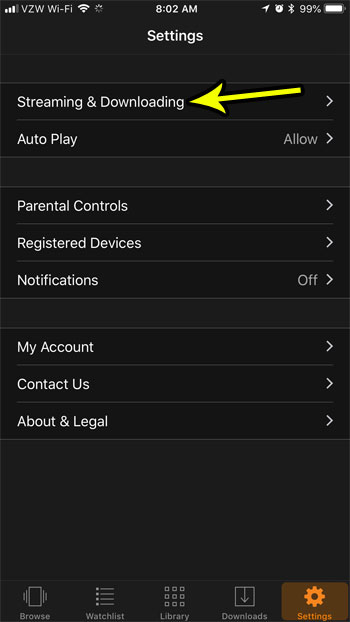
Step 3: Select the Streaming & Downloading option.
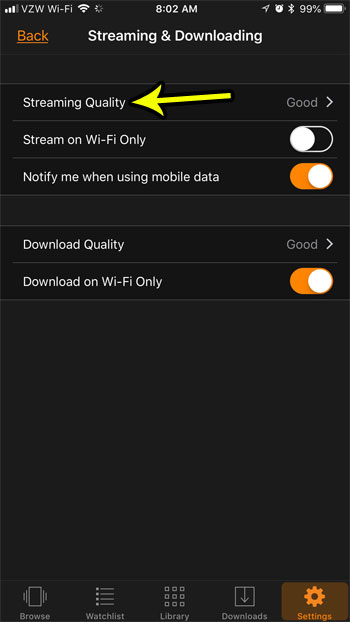
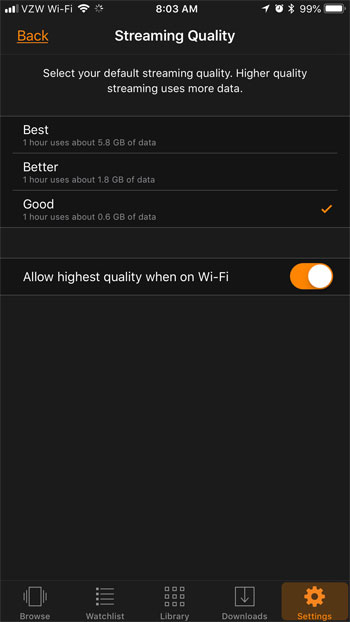
Step 4: Choose the Streaming Quality option.
Step 5: Tap the streaming quality that you would like to use for Prime Video on your iPhone.
Note the amount of data that is indicated under each of the streaming options. That estimate lets you know how much data will be used (approximately) for each hour of video that you stream at that quality. If you are interested in monitoring your data usage, check this article to see how you can reset your cellular data usage statistics so that you can more accurately measure that usage over a given period of time. He specializes in writing content about iPhones, Android devices, Microsoft Office, and many other popular applications and devices. Read his full bio here.
